

Before Willy Wonka ever made his technicolor debut, I was reading Roald Dahl's imagining of the candy filled confectionery and imagining myself an Oompa Loompa in an alternate universe. For much of my childhood I could have very well been Violet Beauregarde or the blueberry imposter Veruca Salt. Okay, so I had much better manors, but I'd also wager a number of good behaviors and chores for a single piece of candy. It's no secret I love sweets, and few candies match my equally vibrant love of color as well as fruity and chewy Starburst or the rainbow delicious #VIPFruitFlavors of Skittles.
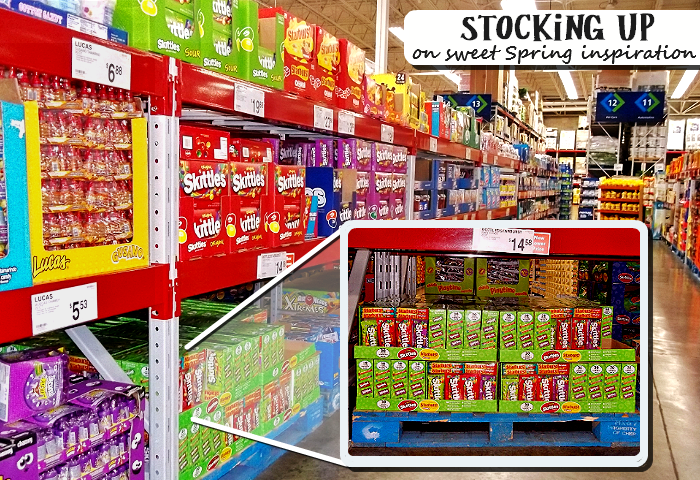

As these things tend to go, I eventually grew out of my fascination of crafting with candy, and the subject was long forgotten, until a recent inspiring shopping trip. Sabrina (11) was asking if we could invest in a Skittles & Starburst 30 Pack from Sam's Club. And, by invest, I mean 'devour.' The parent inside me opened it's mouth to blurt "No way kiddo!" but the wrapper folding, color loving, child began to tug on my inner ear. What if I could show Sabrina that playing with your food can not only be fun, but also productive? We had several teacher's appreciation events coming up and, with spring around the corner, I decided Spring Break would be the perfect time to dabble in crafting with candy again.
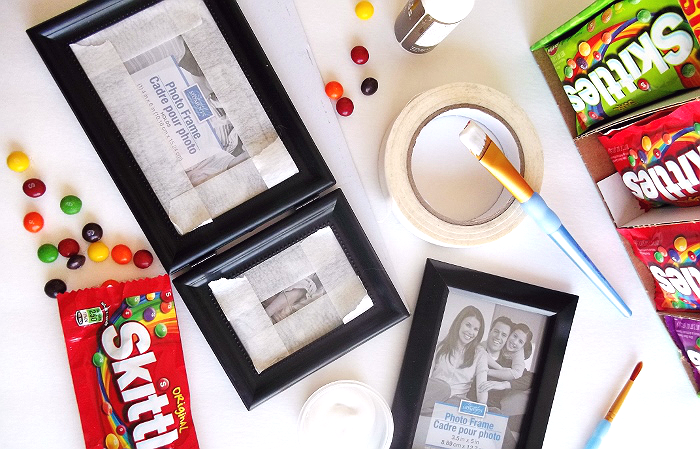
My first project was one that could double as a Mother's Day gift, or Teacher's Appreciation (May 6th); Skittles Picture Frame Craft. This project could easily be achieved with some 'dollar store' or thrift store picture frames, clear candy (or test) tubing, white paint, scrap fabric, a hot glue gun, and modelling clay.


2.) Once our tubes were measured, we layered our Skittles in the desired pattern, right up to the top of the tubes. I especially loved that, between the Original and Wild Berry Skittles, we had a complete 'rainbow' of colors. Once our tubes were full we pinched off come modelling clay and capped off the ends by pressing it down and along the edges.


4.) While you can easily dissolve the colored candy coating off these fruity candies with water alone, I use a vinegar ratio, much like dying eggs, that helps to set the color on a new surface (fabric). Separate your leftover Skittles by color, placing 10-12 of each color desired into a small bowl. Add 3 TBS Water to each color 'pot' and 1 TBS White Vinegar. The color will begin to separate from the candy immediately, and you may even see a few magical white 'S's floating in your new dye concoction!

5.) Making dye with sugar coated candy is a fun and safe craft for the entire family, and can be applied to many different craft projects- However, in this case we used it to dye some scrap fabric to make a tiny bow accent for our frame. Sure, it may not be the most vibrant dye job, but it's certainly effective! We especially enjoyed twisting up the corners of fabric and dipping the tips into different colors to make a 'tie-dyed' effect. Besides, I think it's pretty cool to know there's more than just candy IN the frame, but ON it as well!

Our first task was to unwrap ALL the Starburst in our 30 Piece Variety Pack. Approximately 1 (12 PC) Starburst pack will yield 4 inches of wrapper chain. Of course we weren't going let all those deliciously juicy and fruity, chewy, candies go to waste! I happened to have every crafter, and bakestress' best friend, the mason jar, on hand. We carefully layered leftover Skittles (for our Purple, Blue, and Green), followed by unwrapped Starburst to create a rainbow effect, then topped with a few gold foil wrapped coins to create a Good Luck Jar display for our soon-to-be candy wrapper jewelry.

1.) Lay a wrapper down on a table, blank side up.
2.) Fold the wrapper in half and crease. Open the wrapper back up and fold the outer edges in to meet the middle crease.
3.) Fold the outer edges in towards the center crease one more time. Fold the wrapper in half, horizontally.
4.) Fold the wrapper in half vertically and crease. Open the wrapper back up and fold the outer edges in towards the crease.
5.) Fold the wrapper in half, vertically. You now have one link!

1.) Take the two ends of one wrapper link and insert it into the two ends of another wrapper link.
2.) You will note that one side of a link will have several creases, while the other end will only have one definitive crease along the outer edge. This 'clean crease' edge is the easiest to insert your next link into.
3.) Arrange each link with the bend of the link fold pointing towards incoming ends. Continue weaving the links into one another, between the folds you have created when folding the links.
4.) Closing the chain, to make a continuous bracelet or belt will require opening up the last inserted link and feeding the 'folds' into the loop of your first link to recreate the folding process achieved by weaving the links. This requires a little more advanced skill and is often overcome with a daub of hot glue.
fdsdffds


What Daughter Says: Bring a little extra color to someone's day with handmade gifts featuring candy!


