This shop has been compensated by Collective Bias, Inc. and its
advertiser. All opinions are mine alone. #DoingThe99 #99YourFourth
#CollectiveBias
I simply cannot believe 2017 is half over, particularly because the second half of the year always flies by thanks to the numerous holidays and vacations on the calendar.
I have to admit I'm still getting the hang of having a house versus a condo. All of the holidays prior to this year were limited to HOA regulations and limited space- this year we not only have room (and freedom) to spread out and decorate but ample space to entertain as well. Of course, as anyone who has recently up-sized knows, our household finances grew in the opposite direction. Decorating on a budget is a must when larger investments such as appliances and lawn care take a priority. Of course I don't mind much celebrating any holiday is a a breeze thanks to my local
99 Cents Only Store, and sticking to a budget throughout the year only means more excuses to stop in and shop!
You see my local 99 isn't some leftover bargain store- it's a place where I can go to get amazing deals on name brand products our family uses every day. Even better, I can really explore project concepts, new decor, and new products thanks to their incredible prices- and the inventory changes every time I stop in, so there's always something new to discover. Right when you enter our local 99 there's usually a long aisle of seasonal products. That's my first stop, because the hottest, newest, items are going to be featured front and center. If you spot something you'd like don't hesitate, it won't be around later at those prices!
Living back in the condo I gave up a lot of my crafting ways due to lack of space. Our dining room table was in our kitchen and set up as a photo studio. I sometimes had to lay baking sheets out on the couch. It was a mess.
Now, in our house, we live closer than ever to
the 99 and I'm always bringing home random things which catch my eye. You never know when crafting genius will strike! My favorite way to craft is through objects that will have a use beyond whatever project I cook up. For example, to celebrate the 4th of July, I recently set my mind on creating a wreath out of paper straws. I didn't stress how many packs of straws to buy because they were only $1- and we can always use the spares to drink from! Here's what I used for my Patriotic Straw Wreath, every single thing can currently be purchased at my local 99!
Small Clear Plastic Plant Liner Tray
Approximately 16 Packs (of 8) Paper Straws
2-3 Bunches Fabric Flowers
Hot Glue Gun
Hot Glue Sticks
Scissors
Thin Ribbon/String to Hang
This simple patriotic wreath can be made by anyone old enough to handle a hot glue gun (or let little hands help with the straws and an adult handle the glue gun) and takes about 30 minutes from start to finish. Our 99 had 2 different prints of red and blue straws- stripes and stars. Since I knew I wanted to make 1/4 blue, like our flag, I had to buy extra straws to ensure I had more than enough red, as the packages came 50/50 red and blue. In all I used about 150 straws, but you might want extra if you choose to layer them.
Start by taking your scissors and poking a hole in the center of a plant tray liner. Using the hole/slash created run your scissors' blade through the center and cut a line outward to about 2" from the edge. Turn your scissors and cut around, in a circle, as to cut a hole in the middle. This hollow tray/liner will serve as your wreath template.
Next prepare your straws. I chose to cut them in 3 uniform sizes, in order to help maintain a pattern during placement. You can cut your straws however you like, paying no attention to size or uniformity, if you would like a more wild look.
Place a line of glue on a straw and position it on the tray. Don't stress over whether your straw ends hang into the center- we'll be covering that up at the end, anyhow. Do pay attention to the orientation and spacing of your straws. In order to make an even, round, shape you will have gaps on your first layer- this is fine. Once you have a base layer all the way around go ahead and use your leftover straws to fill in the gaps and add depth.
*Don't place the glue directly on the plastic tray- Applying the glue directly to the tray may cause the plastic to warp.
Lastly you'll want to remove your fabric flowers from their face stems. In most cases the 'buds' should easily pop right off. In the event the stems are glued to the flowers gently snip them apart at the base. I chose to use white daisies for my center, though you could use patriotic ribbon, flags, or anything which fits your personal style.
If desired you may wish to trim some of your straw ends for symmetry, though it is not necessary. I, personally prefer the 'handmade' look.
Using the same technique you used to first punch a hole in the liner earlier gently slice a 1/2" notch on the inside of the tray's upper edge. Feed a thin piece of ribbon or string through this to create a hook to hang from.
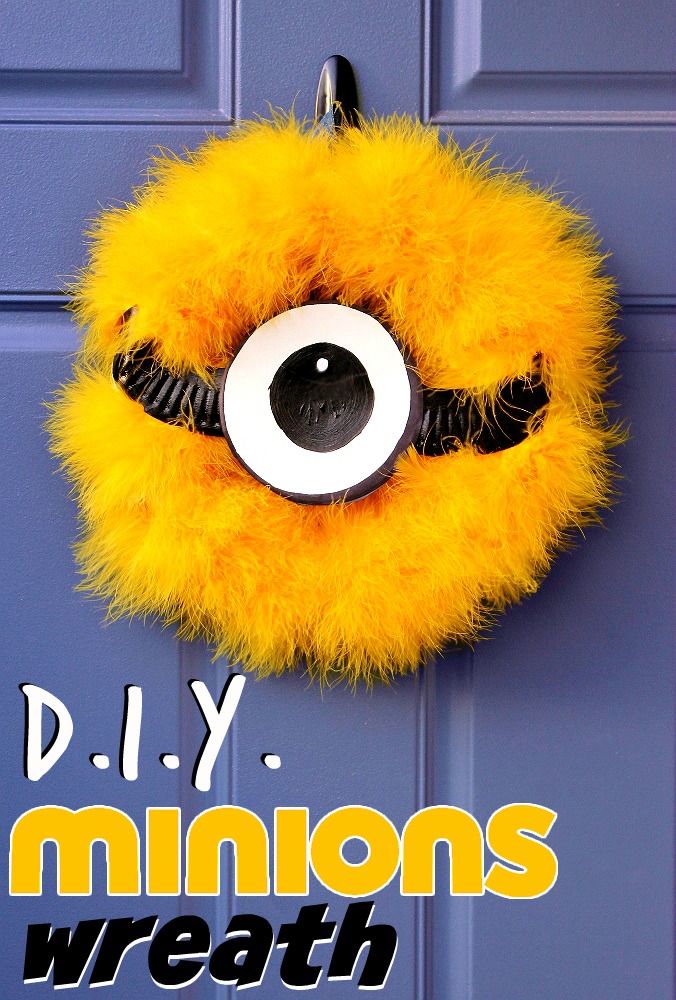
This was only my second go at making a wreath, my first being the infamous Minions wreath, so I was pretty tickled with how it turned out. It's very lightweight but sits pretty flat against the door and doesn't move around when going in any out of the house. It would also be a nice decoration indoors, of course!
One of the things I love most about shopping at the 99 is the variety of items you will find to fill your cart with. Where else can you get a brand new hot glue gun, with glue sticks, for just $1.99? We now have one in the garage for projects, and in the craft room. You simply can't beat it! And, just a few aisles over we browsed flip flops, hot/cold sports bandages, and plastic cups for entertaining. Honestly, I don't ever do dishes when we entertain anymore because there's such an amazing variety of disposable cookware and serving-ware at
the 99.
Speaking of entertaining- You'll find more than flags, flowers, and banners for the 4th of July at the 99. Did you know there's an entire fresh produce department at your local 99? We picked up some gorgeous strawberries and blueberries last week and whipped up this genius American Flag Fruit Platter in minutes! Yes, we even got the yogurt covered pretzels at the 99, too!
So there you have it, my secret to entertaining and decorating on a budget for the 4th of July. I'll admit, most of our celebrations were/are this month, so we won't be doing anything crazy for the actual 4th. However, my father's parents are definitively patriotic with a military background, and I earned some extra 'awesome granddaughter' points for my efforts this past weekend.
Now, tell me, do you have plans for the 4th of July? How can 99 Cents Only Stores help make your 4th a success? Looking for more inspiration- follow the 99 on Facebook and Instagram!